This post is for every person out there who thinks they can't sew, are mechanically-disinclined, or are otherwise craft-blind. Simply put, that is me. I share your non-Etsy pain.
The only time I have sewn anything was by hand, and it was poorly done at that. I'm talking replacing buttons, mending a torn seam, or putting patches of bad metal bands on a denim jacket in the mid-90's.
Enter 2013. My recent foray into hammock camping brought forth all sorts of research about ways to improve the experience; Again and again, I ran across folks discussing underquilts as the best means for keeping warm when the temperatures drop. I window-shopped online for about ten minutes before realizing that the burgeoning craft industry of underquilt production had me priced out of the market. Don't get me wrong, there are beautiful pieces out there that truly are the work of craftsmen. I just don't have hundreds of dollars to spend on sleeping outside when the temperatures drop down below forty-degrees.
 Attempt #1
 It was this resignation and running across several stories of MYOG (Make Your Own Gear) success that had my curiosity piqued. I was watching endless loops of YouTube videos, featuring guys of my age, temperament, and recreational kinship whipping out the coolest things from behind a sewing machine, otherwise affectionately known as a "thread injector" or "fabric welder." I can't say that I'll ever refer to it as anything but a sewing machine, but the nicknames crack me up.
Luckily, Trail-Wife was willing to lend me her sewing machine as long as I didn't refer to it as any of the aforementioned synonyms, so I didn't need to worry about spending any dough on that part.
On Friday night, I picked up Trail-Son after work and we hit the town for nylon remnants, some polyester thread, and sewing needles. We managed to find a decent amount of cheap nylon (some coated, some not), picking up 8 yards to start with. All told, we escaped the store after spending only twenty-three bucks. I figured making five stuff sacks out of this would be a break-even, with anything else being gravy.
 Attempt #2
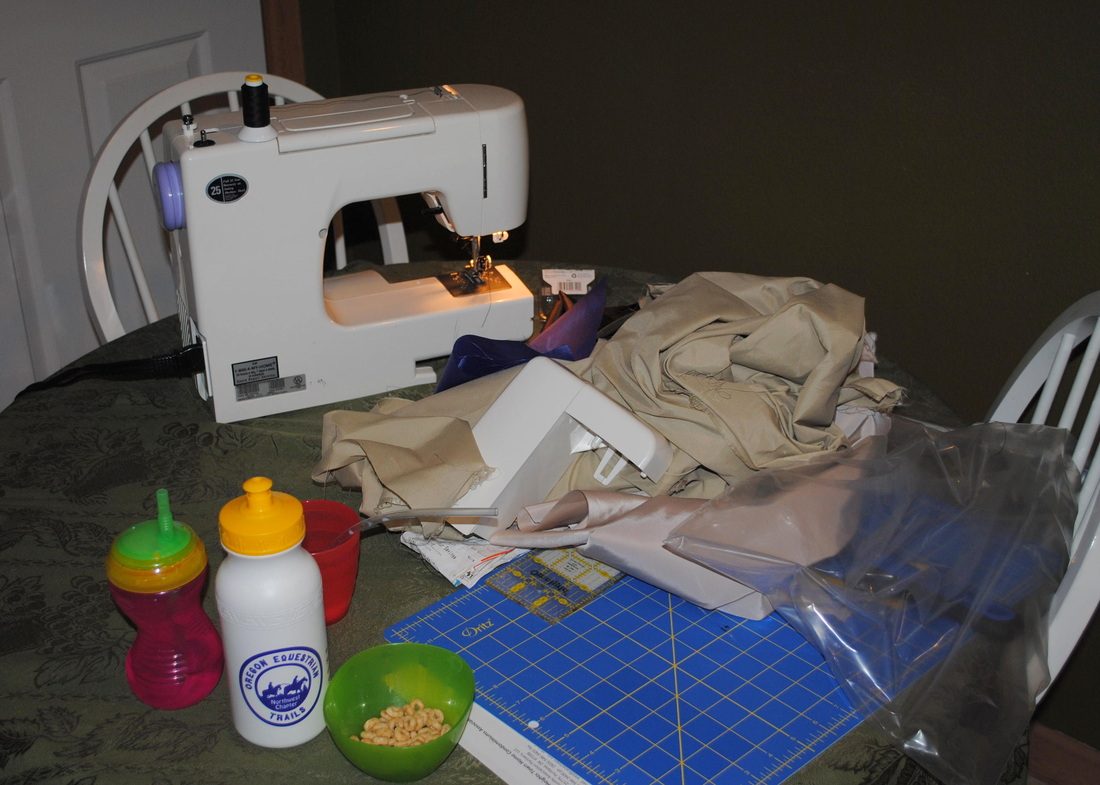
 After getting the little guy to bed, I struggled, and I mean I struggled hard. I did not know the difference between a presser foot and a bobbin. I was glued to the manual, and even that wasn't helping. I finally managed to thread the damned thing in a way that at least made some kind of sense. There was quite the rousing feeling of success that came from spinning the hand wheel toward me and catching both lengths of thread.
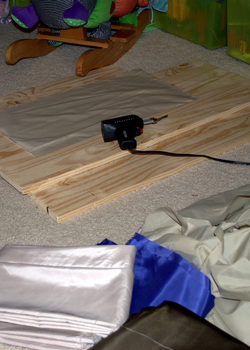
The best part of the night came up when I started trimming pieces of fabric using my soldering gun; The trimmed nylon had no fraying, and it really was an interesting marriage of trades. Everything was great until Trail-Wife complained about the burning smell. I can't blame her!
The best part of the night came up when I started trimming pieces of fabric using my soldering gun; The trimmed nylon had no fraying, and it really was an interesting marriage of trades. Everything was great until Trail-Wife complained about the burning smell. I can't blame her!
 Attempt #3
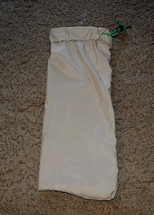
 Once I had some samples trimmed up, it was time to go toe-to-toe with the machine. Three hours of fumbling, bumbling, and minor successes later, I had my first stuff sack constructed.
Lessons learned from the first night:
Bobbin tension is really important, especially with thicker thread.
Lowering the presser foot before cracking out some stitches is kind of vital.
After causing so many jams, I can disassemble and reassemble the bobbin case assembly with my eyes closed.
Lessons learned from the first night:
Bobbin tension is really important, especially with thicker thread.
Lowering the presser foot before cracking out some stitches is kind of vital.
After causing so many jams, I can disassemble and reassemble the bobbin case assembly with my eyes closed.
 Attempt #4
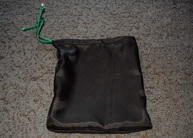
 The end result was functional, but ugly as sin. I've seen straighter lines on Oregon's highways to the coastline.
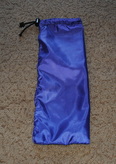
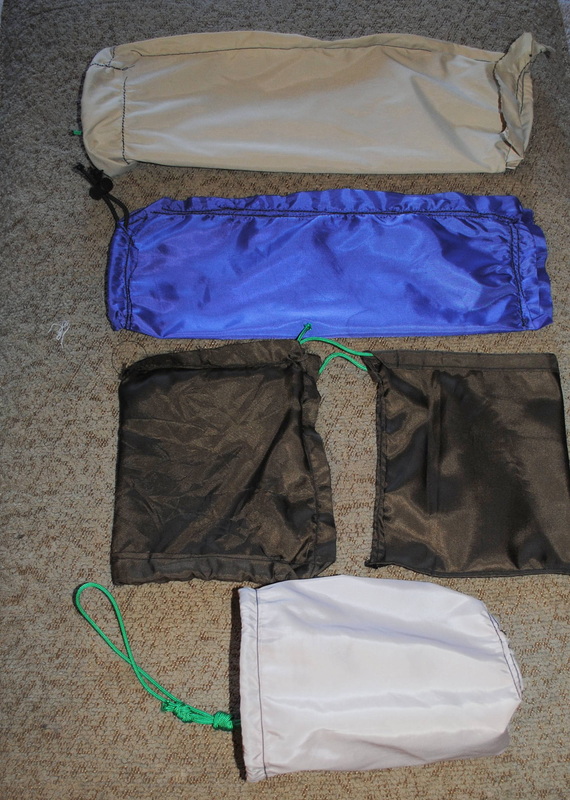
The second round of my sewing initiation came Saturday evening. This time, I managed to put together one stuff sack that looks like a wine bag and one that was actually halfway-decent, albeit on the smaller side. I struggled much less with the jamming, and could actually focus a little more on what I was doing.
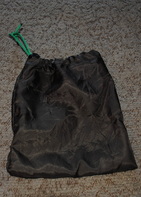
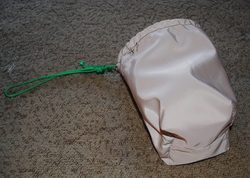
By the time the end of the weekend hit, I was starting to hit my newbie stride. With a baby on my lap, I managed to pump out two more sacks. I was now in the world of using pins to create better seams, and my final attempt was fairly successful at creating a flat-bottomed stuff sack.
 Attempt #5
 That last one even led to some creativity from tips I picked up along the way. In lieu of a cord lock, I went for a combination Figure-8 for one loop, and a triple fisherman's knot with doubled-up cord to provide the closure needed. It works like a charm, and provides an awesome pair of bunny ears when closed that can be looped together and clipped right to my bag.
Lastly, I took one of the triangles I clipped off the bottom and sewed that atop the seam below the draw cord to provide extra reinforcement. It's tough!
I keep looking at this last stuff sack, feeling some major pride. It took an entire weekend, but I am stoked about the next projects. This was an intimidating endeavour, but a new passion has sprung from the experience. Stuff sacks now (and maybe for a few weeks), and eventually an underquilt and beyond.
I want to thank everyone who gave me encouragement and advice during the past 72 hours. Also, a major debt of gratitude goes to the folks who have posted reams of great advice or helpful videos online. Here are some of the ones that really helped me out:
Eric Hudgens' Site and YouTube Channel (cwhammocks)
Hammock Forums
Make Your Own Gear: Five Yards to SuperUltraLight Part 2, Stuff Sack (BackpackingLight)
Make Your Own Waterproof Stuff Sack
DIY Double-Sided Stuff Sack (The Ultimate Hang)
MYOG Stuff Sack (Hiking In Finland)
Simple Stuff Sack Pattern (Bushcraft USA)
Make Your Own Silnylon Stuffsacks (Thru-Hiker.com)
DIY Stuff Sack (Hiker Nerd)
 RSS Feed
